• If you haven't done so already, please add a location to your profile. This helps when people are trying to assist you, suggest resources, etc. Thanks (Click the "X" to the top right of this message to disable it)

Hohner Concerto III - is the bass machine removable?

Rosie C

Well-known member
Joined
Aug 25, 2023
Messages
639
Reaction score
1,090
Location
Cardiff, Wales
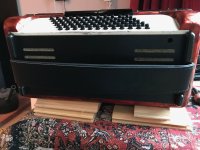
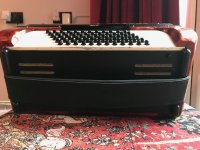
Today a parcel dropped onto my doormat from "Strings & Boxes", including a new bass strap for my Concerto IIIN.

There are two small screws holding the end of the strap (yellow highlight), but they're obscured by the bass machine. The bass machine has two large tempting bolts (pink highlight) that look like if I unscrew them, the whole machine should just ease out in one piece. Can anyone advise if this is the right approach?

IIIN - 1.jpegIIIN - 2.jpegIIIN - 3.jpeg
 
Rosie,

With my limited experience I haven’t seen that model but it looks similar to the bass machine in my Hohner Verdi III - remove some bolts and the two bass machine modules are easily removed, first the outer then the inner. Both are in frames and come out buttons and all. The only potentially tricky thing is getting all the buttons in each module to line up with the holes when reassembling, but that wasn’t difficult. (we removed both sections of the bass machine to work on a sometimes-sticky button, a 15 minute job.)

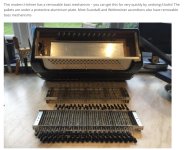
Even better, yours appears to be nearly identical to the removable base machine I see halfway down this instructional page:

IMG_0369.jpeg

JKJ
 
Last edited:
Thanks JK! A small world - George lives just 20 miles or so from me. Looking at the photo you shared, I'm hopeful only the front half will need to be removed... fingers crossed!
 
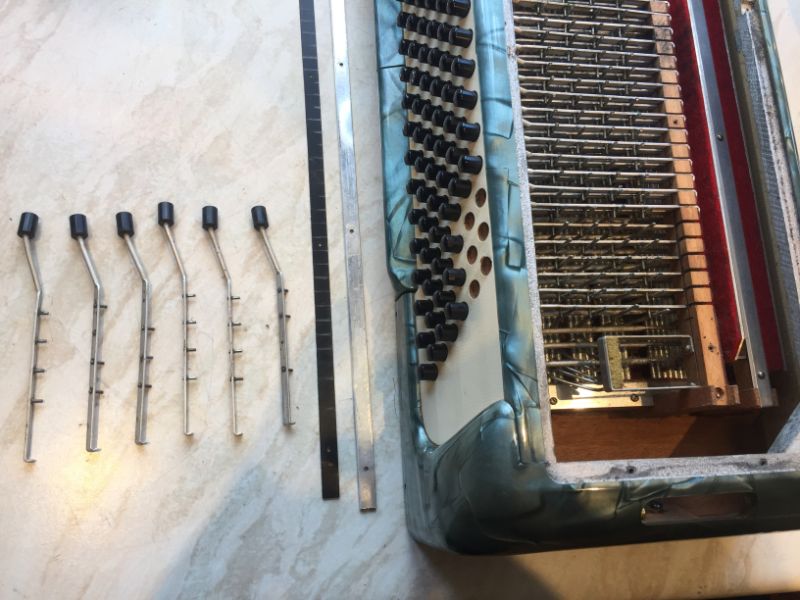
All, done, thanks again! The only problem I had was not realising that the pallet 'levers' each have to be pushed down a little so the machine can be eased in.

Machine coming out:
IIIN - 1 (2).jpeg

IIIN - 2 (1).jpeg

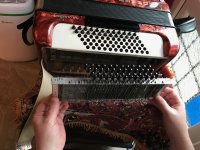
Easy to get to the screws now:

IIIN - 3 (1).jpeg

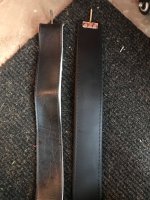
A nice new leather strap from https://www.stringsandboxes.de/ - to replace the old PVC which was past repair:

IIIN - 4.jpeg

and all back together:

IIIN - 5.jpeg
 
Last edited:
Strangely, although I played for about 15 minutes after re-assembly, I didn't notice I'd not refitted the air button. An interesting insight on my playing style.
 

Attachments

  • IIIN - 1 (3).jpeg
    IIIN - 1 (3).jpeg
    194.8 KB · Views: 1
All, done

Fantasic! And thanks for your picture documentation. Photos sure make things a more interesting - and instructive..
As they say, “a picture is worth 1000 words”.

(And BTW, in doing the math we often said, “that means a word must be worth a milli-picture.”) :D
 
Back
Top